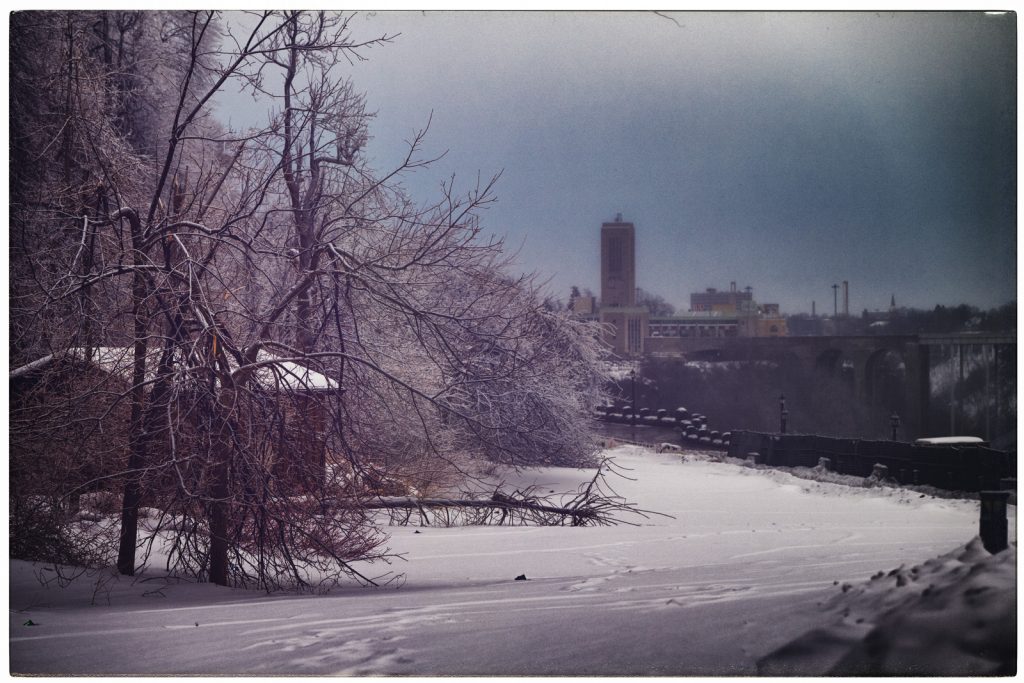
An icy winter scene in Niagara Falls, Ontario, where snow blankets a quiet riverside path and frost clings to bare tree branches. A fallen limb rests across the foreground, while the misty skyline and arched bridge recede into a cold, blue-grey haze. The subdued light and muted tones emphasize the stillness of a frozen morning along the gorge.
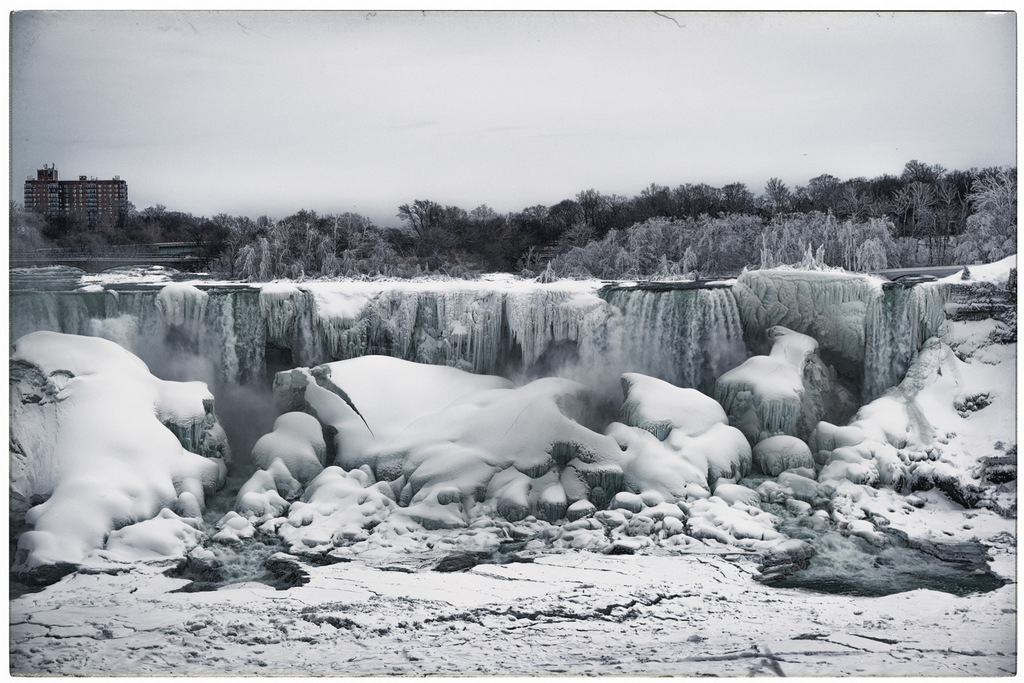
A wide winter view of the American Falls at Niagara Falls, seen from the Canadian side, with thick ice formations and snow-covered rocks surrounding the cascading water. Frozen mist clings to the cliff edges and trees along the rim, while a bridge and mid-rise building appear in the distance under an overcast sky.
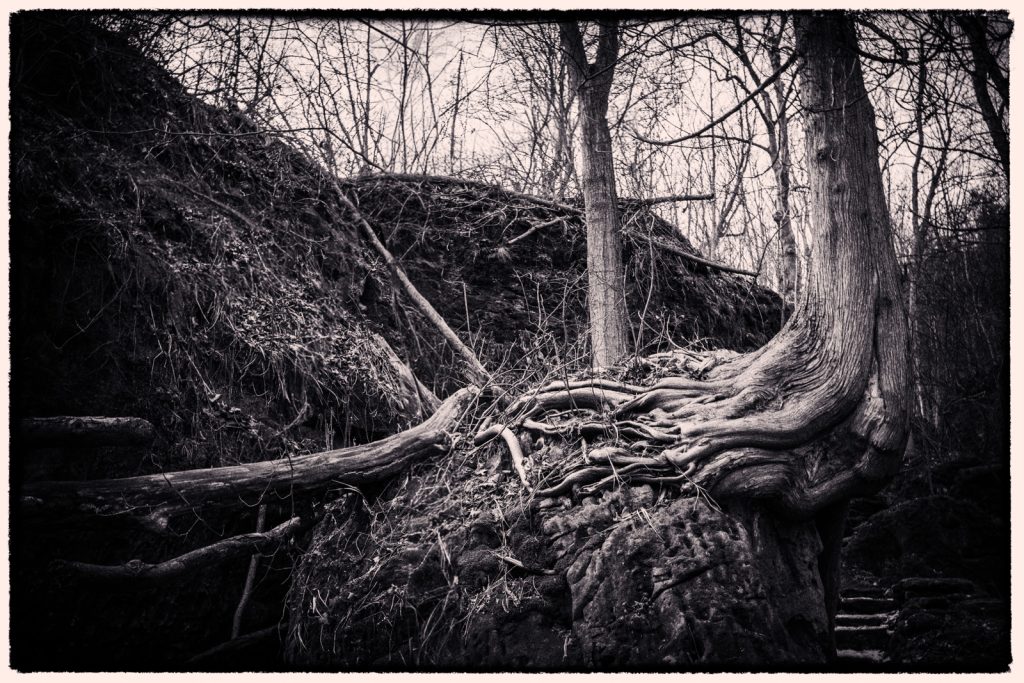
A black-and-white photograph of a forested ravine where a large tree clings to a rocky outcrop, its exposed roots twisting and gripping the stone. Bare branches fill the background, creating a dense lattice against the pale sky, while rough textures of bark, rock, and soil dominate the foreground. The composition emphasizes resilience and age through strong contrast and organic lines.
Camera: Ricoh GR-IV. 1/320 sec at f5.0 ISO 800. Post-processed with Nik Silver Efex.
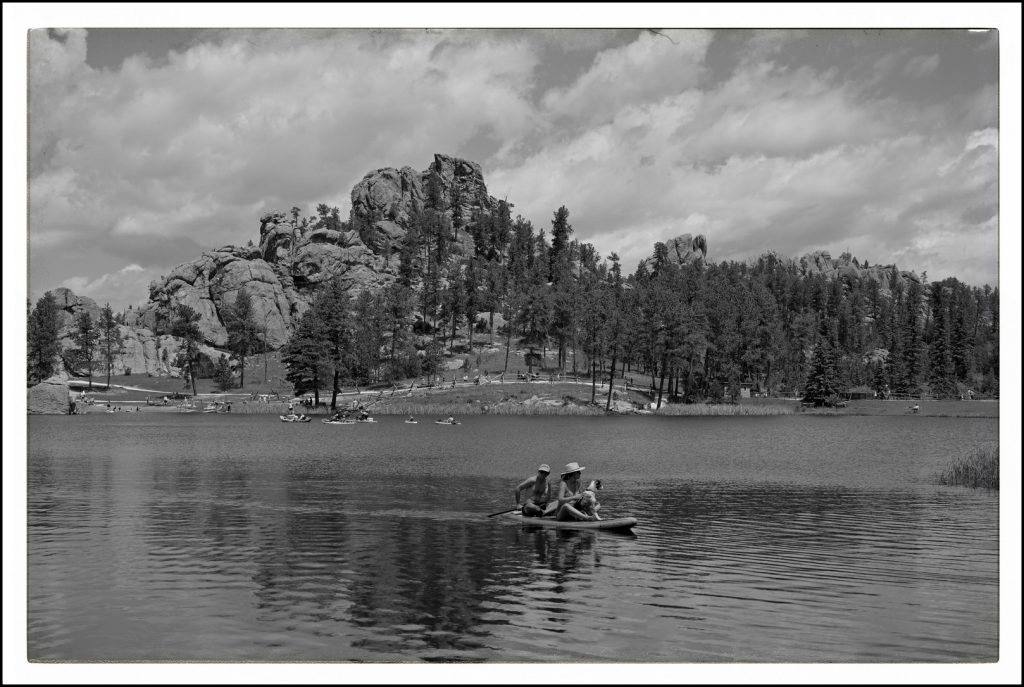
The black-and-white image depicts a serene lakeside scene with a backdrop of rocky hills and dense pine trees. In the foreground, a man, a woman, and a dog are sitting on a paddle board, paddling on the calm lake. Other small boats and people can be seen scattered across the lake and along the shoreline. The sky is filled with fluffy clouds, casting soft shadows over the landscape. The overall atmosphere is peaceful and leisurely, suggesting a day of outdoor recreation and enjoyment. (Image description courtesy of “Peter’s Alt-text Creator” Custom GPT.)
Shot on a Nikon Zf with a Nikkor Z 24-70mm f/4 S lens, f/5, 1/1250s, ISO 125.
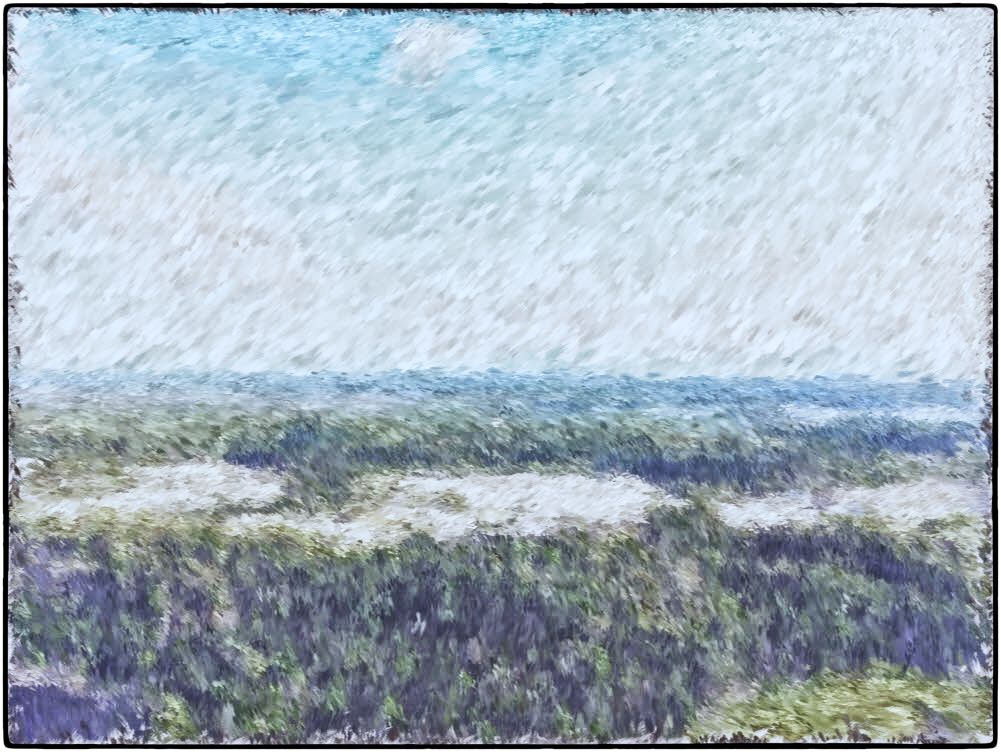
This photo was taken with my DJI Mini 2 drone in Raw mode, converted to an Impressionist painting in Corel Painter 5, then post-processed in Nik’s Color Efex Pro to give it a wintery look and apply a frame.
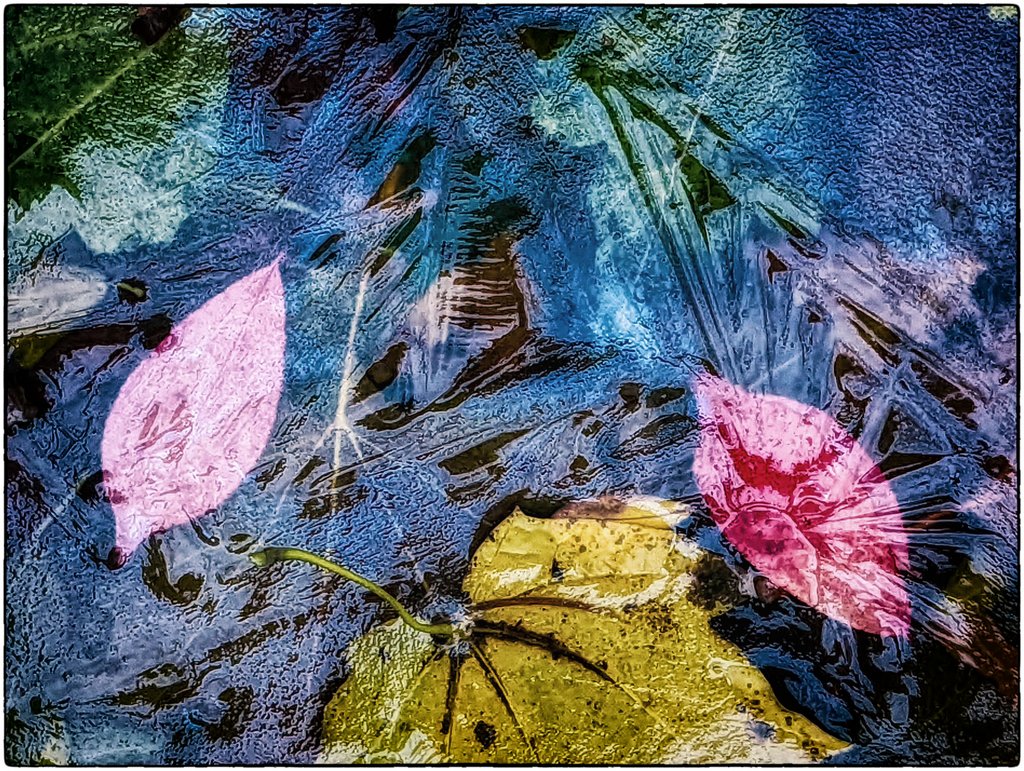
These leaves had been floating on the water when it froze in a bucket in my yard, which made for a picturesque photo!
The photo was shot with a Pixel 6 Pro, the colours were deepened using Aurora HDR, and the Beach Bypass effect in Nik Colour Efex Pro was used to further enhance the image.

Recent Comments